Today we will learn how to recover your lost, formatted and deleted data on PC. You can do recovery of your SSD Drive, Memory Card, USB Pen Drive, Hard Disk Drive HDD, and deleted or formatted drive partitions on Windows XP/7/8.1/10/11 or macOS for free.
Table of Contents

Recovery
This method is so unique that you can even recover drive you expediently formatted during windows Partition and data from merged or deleted or formatted partition on your computer. There are two types of Drives, External and Internal, you can recover your data on both.
Recover External and Internal Data
You can also recover files from your phone and other multimedia storage drives using a software program and then there is another method which will help restore files from not detected external hard drive and USB flash drive for free with an easy method.
Recovery Method
If you are worried by drive not showing your files and data issue, and you are attempting to discover different methods to get your file back, do not panic and do not do any changes on your on. You are here at the correct spot.
Here, we will tell you the best way to fix lost files and data from your hard disk drive, SSD Drive, Flash Drive, or any other storage drive including phone storage. Now there are 2 methods to fix your issues.
Method 1: Fix your storage drive from Windows.
This method is good, if there is data in your storage drive but your computer, laptop or Phone is unable to detect or failed to show you. You can fix this without any software on Windows.
Method 2: Recover your files using a software.
In this method, you will learn how to do a full-on recovery using a software program. This will do a recovery of all kind of storage drives and folders on Windows and macOS.
Method #1: Fix Drive not showing Data
This first method will help you to fix your storage drive without any recovery program. Let’s first fix storage drive not showing data even though it still exists? Many people face this issue on SSD, HDD, flash drive, and other storage.
Drive not showing files data yet using the space is one of the fundamental reasons you lose your data, but it can be easily fixed. Watch the above video for an easy tutorial, or follow the below section.
How to fix files not showing in storage drive?
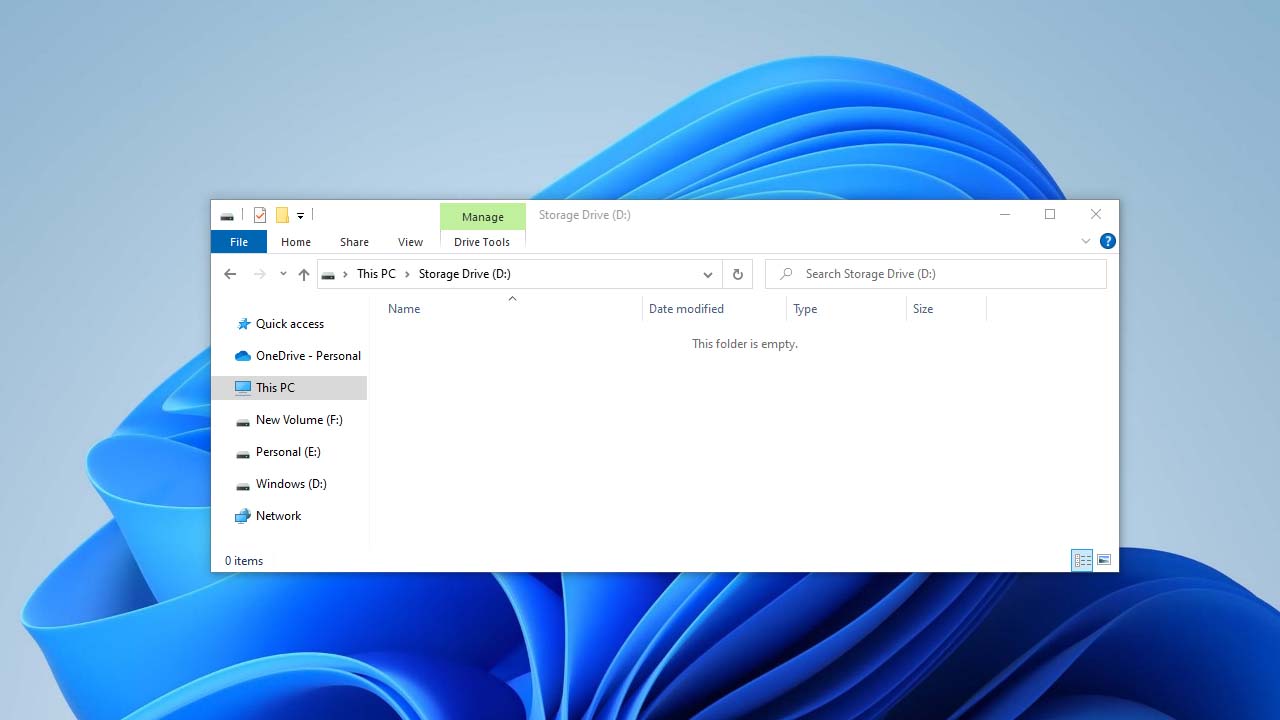

This is a guide on how to fix your storage drive not showing your data issues. This method scans your all your drives including SSD/HDD, Flash Drives and other multimedia storage devices including memory cards and pen drives.
Total Time: 2 minutes
Open Start and search “Computer Management”.

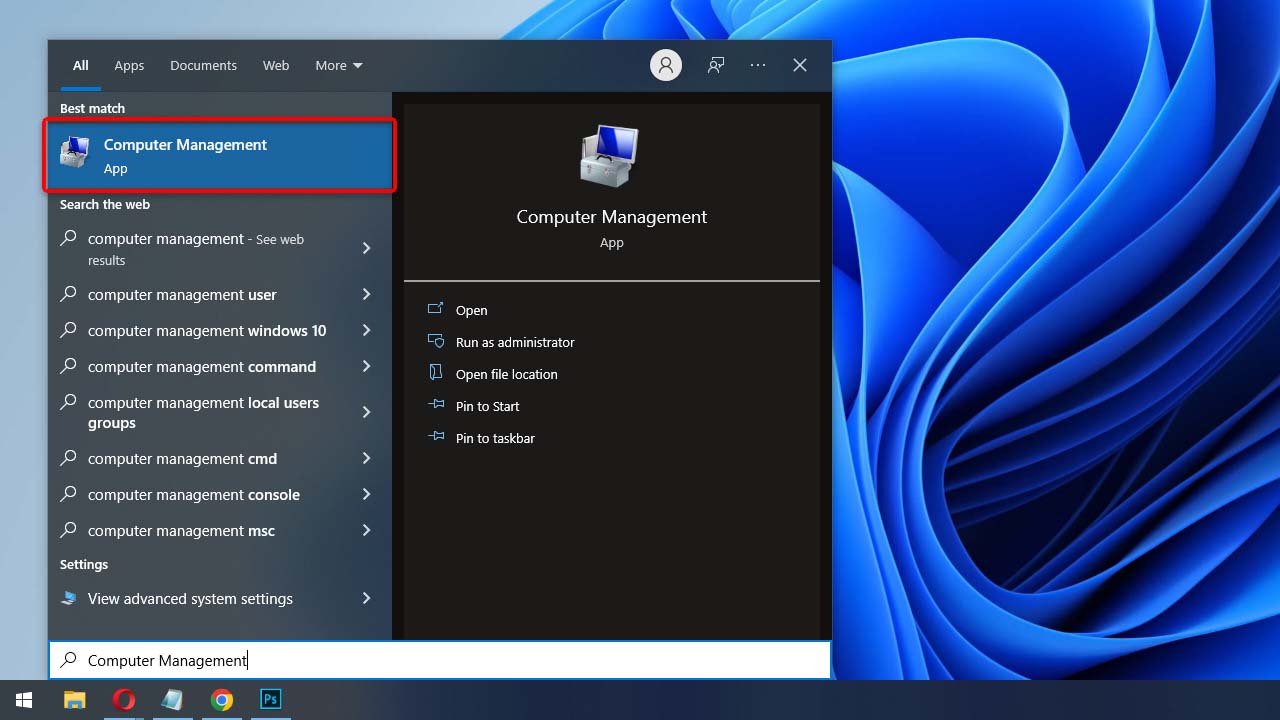
Click on start button and search for Computer Management and open.
Click on “Disk Management” button.


In the Computer Management, window, On the left side, look for Disk Management section and click on it.
Right-click and select ‘properties’.


Now look for the infected drive which is not showing your data files. Now select the infected drive and right click on it than click on properties.
Under tools, click on “Check” button.


Once you will click on the “Check” button from “Error checking” section, a pop-up window will appear with scan feature.
Click on the “Scan drive” button.


From the Pop-up, click on “Scan drive” button and After the scan complete, if there are issues in your drive, click on the repair button.
Click ‘Repair drive’ then ‘Repair now’ button.


After clicking on ‘Scan drive’ button. Wait for scan to complete and if there are any errors it should show a repair box. If so, then pres “Repair drive” button and hit the “Repair now” button and wait for the repairing feature to complete it’s process.
If you are still unable to repair your storage drive, you should also try the command method from below command method section below and if that also does not work for you than using a recovery method maybe a good idea.
Method #2: Recover with Software
This is method will helps you to recover and restore data using a software application. Follow the below steps if you want to recover your deleted and lost data on Windows and macOS. You can fix all your data files using a software program, let’s do a recovery of your storage drive.
⚠ Please only apply this method if you have great knowldge of computers, If your data is very important to you then contact your nearest comuter shop or hair an expert.
How to Recover your Data Files?
You can download the recovery software from the bottom of this article or look for a good recovery software on the internet. Now let’s recover your lost, deleted, and formatted storage drive on all drives such as: Memory Card, USB Pen Drive, HDD, SSD’s, folder, and other multimedia devices. You can use this method on Windows and macOS.
- Download the recovery software.
- Install software on Windows/macOS/Linux.
- Open recovery software.
- Select the drive for recovery.
- Press the “Start” button.
- Wait for the scaning to complete.
- Select your files type from left side.
- Hit the “Recover” button.
- Select a save location to recover files.
- Wait for recovery to complete.
- Done! Your data should be recovered.
You can download the software from the software site or download from the below button.


How to recover data from Google Drive?
Recovering data from Google Drive can be a straightforward process if you have accidentally deleted or lost a file. Here are the steps you can follow to recover your data from Google Drive:
- Open Google Drive: Go to drive.google.com and log in to your Google account.
- Check the Trash: If you have deleted the file by mistake, check the Trash folder. Deleted files are stored in the Trash for 30 days before being permanently deleted.
- Use the “Undo” option: If you accidentally deleted the file, you can use the “Undo” option by pressing “Ctrl+Z” on Windows or “Cmd+Z” on Mac.
- Search for the file: If you cannot find the file in the Trash, try searching for it using the search bar. Type in the name of the file or a related keyword.
- Check the Activity panel: If someone else shared the file with you, check the Activity panel to see if they made any changes or deleted the file.
- Use third-party recovery tools: If none of the above options work, you can use third-party recovery tools like Recuva or Disk Drill to recover your files. These tools can scan your Google Drive account and recover deleted or lost files.
It is important to note that if you permanently deleted the file or if the file was deleted over 30 days ago, there is a chance that it may not be recoverable. Therefore, it is always recommended to have a backup of your important data to prevent data loss.


How to recover data from iCloud?
To recover data from iCloud, follow these steps:
- Make sure you have a recent backup: Before you begin, ensure that you have a recent backup of your data on iCloud. You can check this by going to Settings > [Your Name] > iCloud > Manage Storage > Backups on your iOS device or by logging into iCloud.com on your computer and checking under Settings > iCloud Settings > Manage.
- Choose data to restore: Once you have confirmed that you have a backup, decide which data you want to restore. You can restore contacts, calendars, photos, reminders, and more.
- Restore from iCloud.com: To restore data from iCloud.com, go to iCloud.com and sign in with your Apple ID. Click on the icon for the type of data you want to restore and follow the prompts to restore the data to your device.
- Restore from iOS device: To restore data from your iOS device, go to Settings > General > Reset > Erase All Content and Settings. This will erase your device, but you can then restore your data from iCloud when you set up your device again.
- Use third-party software: If you are unable to restore your data from iCloud using the above methods, you may want to consider using third-party data recovery software that supports iCloud backup. Some popular options include Dr. Fone and PhoneRescue.
It’s important to note that restoring data from iCloud may overwrite any existing data on your device, so it’s always a good idea to backup your device before attempting a restore.
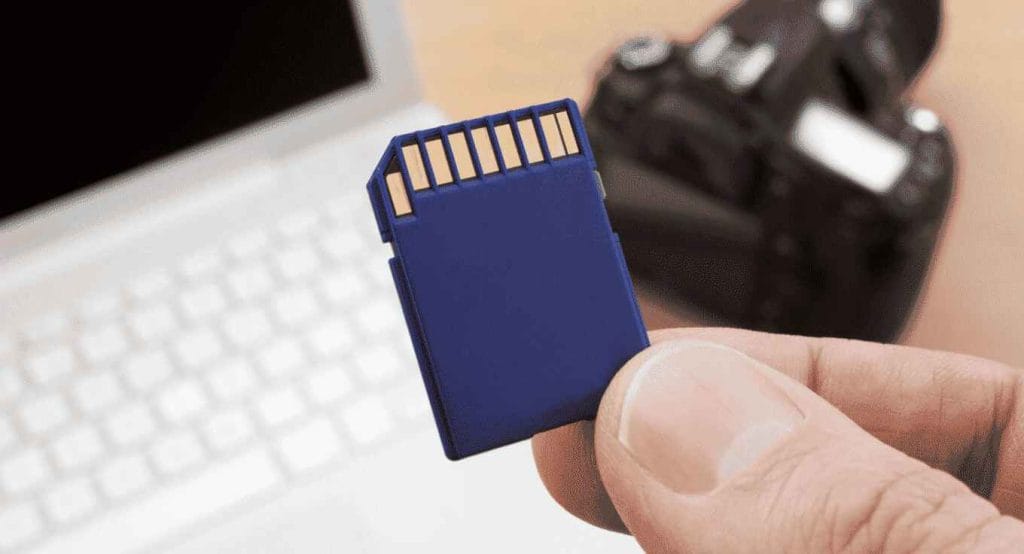

How to recover SD card data?
To recover SD card data, you can follow these steps:
- Stop using the SD card immediately: Once you realize that your data is lost or deleted, stop using the SD card immediately. Continuing to use the card can overwrite the lost data and make it harder or impossible to recover.
- Use a data recovery software: You can use a data recovery software like EaseUS Data Recovery Wizard, Recuva, or Stellar Data Recovery to recover the lost data. These software are available for Windows and Mac systems.
- Connect your SD card to your computer: Use an SD card reader or connect your device that has the SD card to your computer.
- Launch the data recovery software: After connecting the SD card to your computer, launch the data recovery software that you have installed.
- Scan for the lost data: Once the software is launched, select the SD card and click on the scan button to start scanning for the lost data.
- Preview and recover the lost data: After the scan is complete, you can preview the lost data and select the files that you want to recover. Click on the recover button to recover the selected files.
- Save the recovered data: Once you have recovered the lost data, save it to a different location on your computer or on a different device.
It is important to note that not all data can be recovered and the success of data recovery depends on the extent of damage to the SD card. Additionally, it is recommended to regularly backup important data to prevent loss in the event of damage to the SD card or other storage devices.
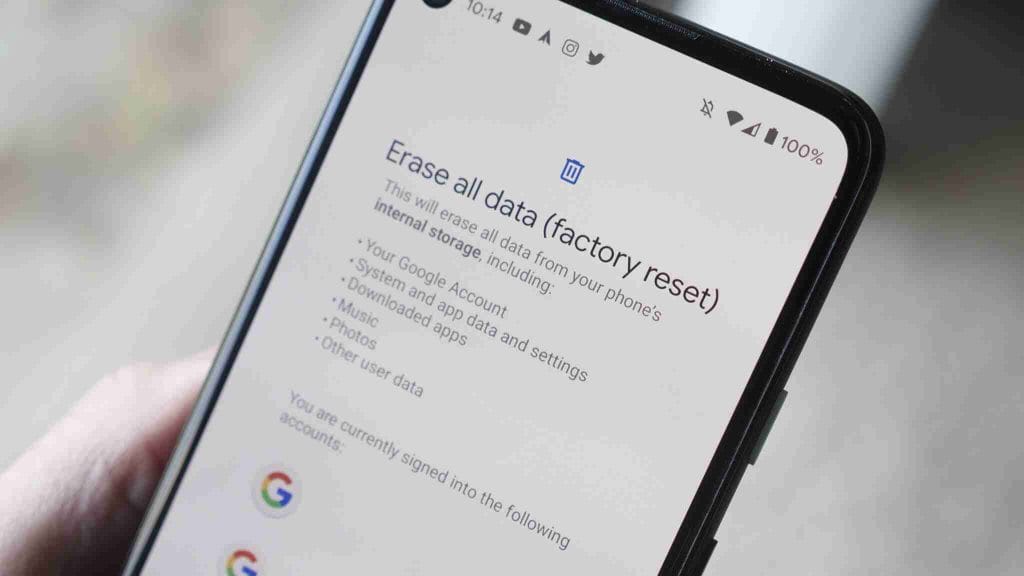

How to recover data after factory reset?
The process of recovering data after a factory reset varies depending on the device you are using. Here is a general guide on how to recover data after a factory reset on different devices:
On Windows:
- Use a data recovery software: There are many data recovery software available for Windows, such as EaseUS, Recuva, and MiniTool Power Data Recovery. You can download and install any of these programs and follow the instructions to recover your data.
- Use System Restore: If you have enabled System Restore on your Windows computer, you can use it to recover your files. Go to the Control Panel > System and Security > System > System Protection. Click on System Restore and follow the prompts to restore your system to a previous point.
On Mac:
- Use Time Machine: If you have enabled Time Machine on your Mac, you can use it to recover your files. Connect your external hard drive and open Time Machine. Use the arrows to navigate to the time you want to restore your data from and select the files you want to recover.
- Use a data recovery software: There are many data recovery software available for Mac, such as Disk Drill, EaseUS, and Data Rescue. You can download and install any of these programs and follow the instructions to recover your data.
On Android:
- Use a data recovery app: There are many data recovery apps available for Android, such as DiskDigger, EaseUS MobiSaver, and Recuva. You can download and install any of these apps and follow the instructions to recover your data.
- Use Google Drive: If you have enabled Google Drive backup on your Android device, you can recover your data from there. Open the Google Drive app and navigate to the folder where your data is stored. You can download the files to your device.
On iPhone:
- Use iCloud Backup: If you have enabled iCloud backup on your iPhone, you can recover your data from there. Go to Settings > iCloud > Storage > Manage Storage. Select your device and look for the backup you want to restore. Follow the prompts to restore your data.
- Use a data recovery software: There are many data recovery software available for iPhone, such as iMyFone D-Back, EaseUS MobiSaver, and Dr.Fone. You can download and install any of these programs and follow the instructions to recover your data.
In conclusion, recovering data after a factory reset is possible on all devices, but the process may vary. It’s always a good idea to back up your data regularly to avoid data loss.
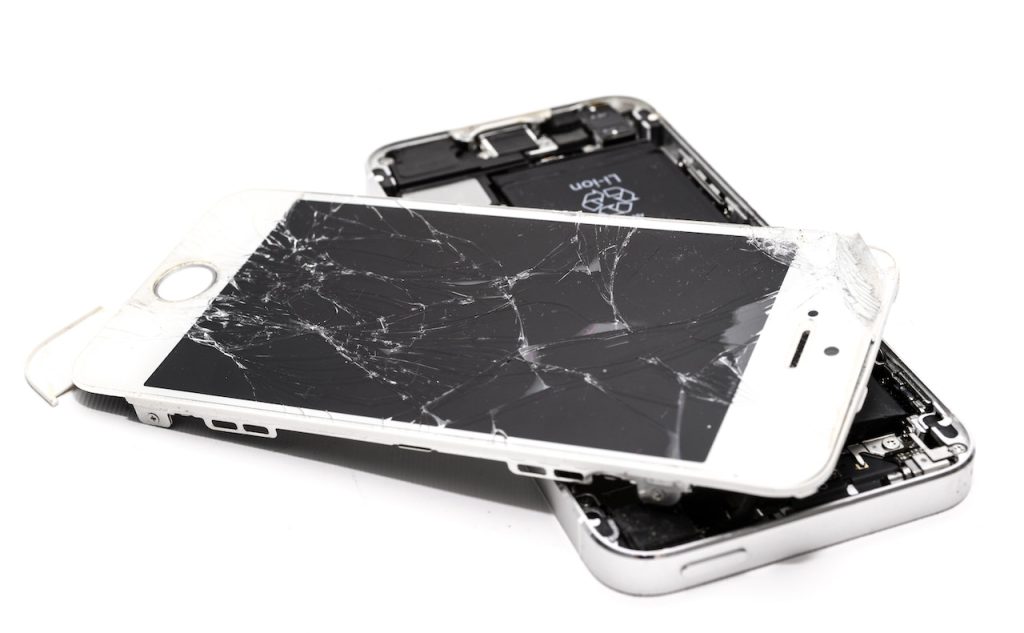

How to recover data from broken phone?
Recovering data from a broken phone can be a challenging task, but it is not impossible. Here are some steps you can take to recover your data from a broken phone:
- Check if the phone is recognized by your computer: If your phone screen is broken, you can connect it to a computer to see if it is recognized. If it is, you can proceed with the data recovery process.
- Use data recovery software: You can use third-party data recovery software like EaseUS MobiSaver, Dr. Fone, or PhoneRescue to recover your data. Install the software on your computer, connect your phone to the computer, and follow the prompts to recover your data.
- Use Google account: If you have an Android phone, your data might be backed up on your Google account. Log in to your Google account on a computer, go to the “Settings” tab, and select “Backup and reset.” From here, you can select “Restore” to recover your data.
- Use iCloud: If you have an iPhone, your data might be backed up on iCloud. Log in to iCloud on a computer and select “Restore from iCloud Backup” to recover your data.
- Contact a professional data recovery service: If none of the above methods work, you can contact a professional data recovery service. They have specialized equipment and expertise to recover data from broken phones.
It’s important to note that the success rate of data recovery from a broken phone depends on the extent of the damage. If the phone is completely destroyed or the internal storage is damaged, it might not be possible to recover the data.


How to recover Snapchat data?
Snapchat is a popular social media platform that allows users to share photos, videos, and messages with friends. If you accidentally deleted some important Snapchat data, don’t worry, there are ways to recover them. Here are the steps to recover Snapchat data with and without backup.
Recover Snapchat data with backup:
- Launch Snapchat and log in to your account.
- Tap on your profile icon and go to Settings.
- Scroll down and tap on Memories.
- Tap on Backup Progress and check if your data is backed up to the cloud.
- If your data is backed up, tap on Restore My Data to recover your Snapchat data.
Recover Snapchat data without backup:
If you didn’t back up your Snapchat data, you can still recover them by using a data recovery tool such as EaseUS MobiSaver. Here are the steps:
- Download and install EaseUS MobiSaver on your computer.
- Connect your phone to the computer with a USB cable.
- Launch EaseUS MobiSaver and select your phone.
- Click on Scan to scan your phone for lost Snapchat data.
- Preview and select the Snapchat data you want to recover.
- Click on Recover to save the Snapchat data to your computer.
Note: It’s important to stop using your phone once you realize you have lost Snapchat data. This will prevent new data from overwriting the lost data, making it more difficult to recover.

How to recover WhatsApp data without backup?
Recovering WhatsApp data without backup can be a challenging task, but there are a few methods you can try. Here are some steps you can follow to recover WhatsApp data without backup:
- Check if WhatsApp has saved a local backup: On Android, go to File Manager > WhatsApp > Databases and look for any files named “msgstore-YYYY-MM-DD.1.db.crypt12”. If you find one, rename it to “msgstore.db.crypt12” and reinstall WhatsApp. During the setup, WhatsApp will detect the backup and ask you to restore it.
- Use third-party recovery software: There are several data recovery tools available that claim to recover WhatsApp data without backup. Some popular options include Dr.Fone, PhoneRescue, and EaseUS MobiSaver. Install one of these tools on your computer, connect your phone, and follow the instructions to recover your data.
- Contact WhatsApp support: If none of the above methods work, you can try contacting WhatsApp support. They may be able to help you recover your data, but there is no guarantee.
It’s important to note that recovering WhatsApp data without backup is not always possible, so it’s a good idea to regularly back up your WhatsApp data to avoid losing important messages and media.
How to recover deleted WhatsApp chat?
To recover deleted WhatsApp chat on an Android device, follow these steps:
- Open your device’s file manager or download a third-party file explorer app.
- Navigate to the WhatsApp folder and then to the Databases folder.
- You will see several files named “msgstore-YYYY-MM-DD.1.db.crypt12”. Choose the file with the date you want to restore your chats from.
- Rename the chosen file to “msgstore.db.crypt12”.
- Uninstall and reinstall WhatsApp from the Google Play Store.
- During the setup process, you will be asked to restore your chat history. Tap “Restore” to restore your deleted chat history.
Note: If you do not have a backup of your chat history, this method will not work. In that case, you can try using a third-party WhatsApp data recovery tool, but be cautious and use reputable software to avoid further data loss or privacy concerns.
If you have question ask me in the comments.


