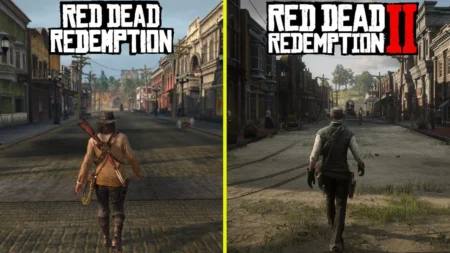
Learn how to download and install the VRAM Bypass Mod for Red Dead Redemption 1 to make RDR run on low end pc similar to RDR game fps boost guide this article will make the run on your potato computer.
Table of Contents
This guide will walk you through the steps to download and install the VRAM Bypass Mod for Red Dead Redemption 1 effectively which is a handy tool for improving performance on systems with limited VRAM.
How to Install VRAM Bypass Mod in RDR 1
Here are steps to install the VRAM Bypass Mod in Red Dead Redemption (RDR1) video game and make the game run without it’s original graphic requirements:
Step 1: Download the Mod
- Scroll to download section
- Download the ZIP file containing the VRAM Bypass Mod.
Step 2: Extract the Files
- Locate the downloaded ZIP file on your computer.
- Right-click on the file and select Extract All or use extraction software like WinRAR or 7-Zip.
- Extract the contents to a location of your choice.
Step 3: Install the Mod
- Open the folder where you extracted the mod files.
- Copy the
dxgi.dllfile. - Navigate to the Red Dead Redemption 1 game directory (the folder where the game is installed).
- Example:
C:\Program Files (x86)\Rockstar Games\Red Dead Redemption
- Example:
- Paste the
dxgi.dllfile into the game directory.
Step 4: Launch the Game
- Apply RDR custom settings to make the game playable.
- Run the game as usual.
- The VRAM Bypass Mod should now be active, enhancing performance and bypassing VRAM-related limitations.
Enjoy smoother gameplay with your new setup!
Download Section
Above button is not working? use mirror download.
Related Post: How to Locate RDR 1 Directory


1 Comment
THANKS YOU SOOOOOOO MUCH