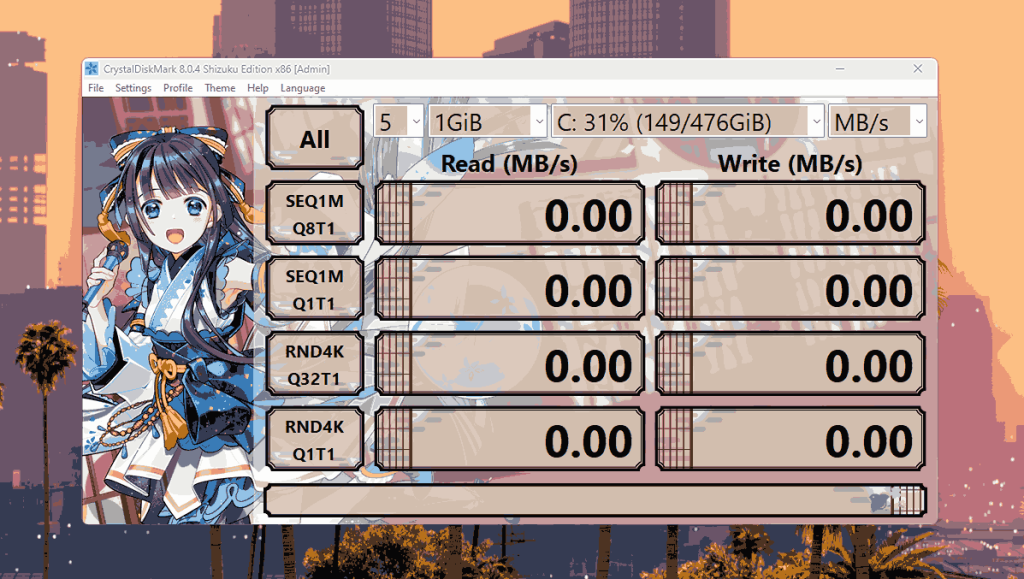
In this article, we’ll provide a step-by-step guide to getting started with CrystalDiskMark Standard Edition and Shizuku Edition, a powerful tool designed to measure the performance of your storage devices, including hard disk drives (HDDs), solid-state drives (SSDs), and USB drives.
Table of Contents
This is a simpler version of CrystalDiskInfo, used for benchmarking storage drives. However, if you’re a tech enthusiast, gamer, or IT professional, understanding how to install, download, and use CrystalDiskMark can help you optimize your storage performance, identify potential issues, and gain insights into your storage memory.
CrystalDiskMark: A Brief Overview
CrystalDiskMark is a widely-used disk benchmarking utility designed to measure the performance of storage devices such as hard disk drives (HDDs) and solid-state drives (SSDs).
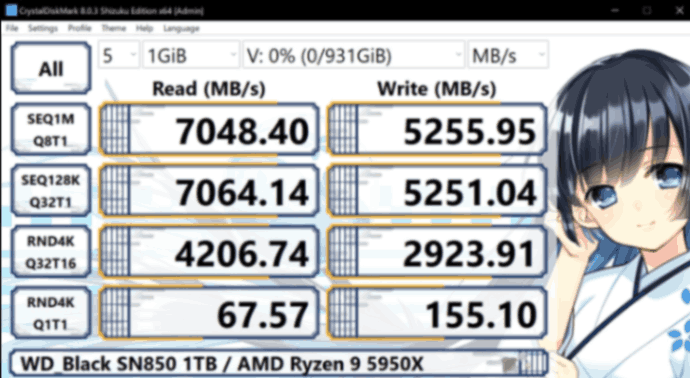

Developed by Crystal Dew World, this lightweight and easy-to-use tool provides valuable insights into the read and write speeds of storage devices, helping users assess their performance and make informed decisions about their storage solutions.
Features:
- Simple Interface: CrystalDiskMark features a straightforward and intuitive user interface, making it accessible to users of all levels of expertise. Its minimalist design allows users to quickly navigate the software and perform benchmark tests with ease.
- Comprehensive Benchmarking: CrystalDiskMark offers a variety of benchmarking tests, including sequential and random read/write tests. Users can customize test settings such as test size, number of test passes, and queue depth to suit their specific needs.
- Detailed Results: After completing a benchmark test, CrystalDiskMark provides detailed results in a tabular format within the application window. These results include metrics such as sequential read/write speeds, random read/write speeds, and input/output operations per second (IOPS), allowing users to assess the performance of their storage devices accurately.
- Customizable Testing Profiles: CrystalDiskMark allows users to create and save custom testing profiles, making it easy to perform consistent benchmark tests across multiple devices or configurations. This feature is particularly useful for system builders, hardware enthusiasts, and IT professionals who frequently test and compare storage devices.
- Portable Version: In addition to the standard installer package, CrystalDiskMark also offers a portable version that can be run directly from a USB flash drive or other removable storage device. This portable version is ideal for users who prefer to carry their benchmarking tools with them or need to perform tests on multiple computers.
With its simple interface, comprehensive benchmarking tests, and detailed results, CrystalDiskMark is a valuable tool for anyone seeking to optimize the performance of their storage infrastructure.
You may like: FRAPS – Real-time video capture and benchmarking
How to Install CrystalDiskMark
CrystalDiskMark is a popular disk benchmarking tool used to measure the performance of hard drives, solid-state drives (SSDs), and other storage devices.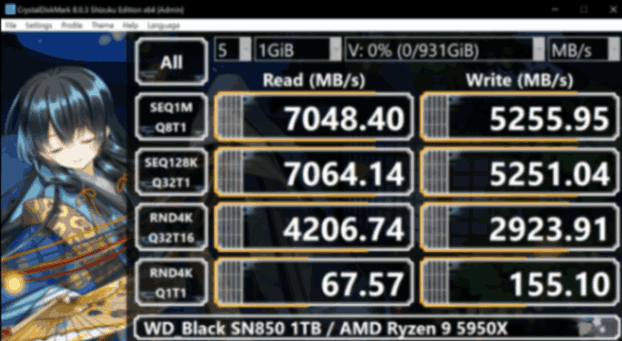

Here is the process of installing CrystalDiskMark on your Windows PC:
- Download CrystalDiskMark
The first step is to download the CrystalDiskMark installer from the download section. You can download the latest version of the software. Only download Standard Edition or Shizuku Edition, both of them are the same with the difference of theme. - Run the Installer
Once the CrystalDiskMark installer is downloaded, locate the file in your downloads folder or wherever you saved it. Double-click on the installer file to run it. You may be prompted by Windows to confirm that you want to run the installer. Click “Yes” or “Run” to proceed. - Choose Installation Options
The CrystalDiskMark installer will launch, presenting you with various installation options. Typically, you’ll be asked to agree to the terms of the license agreement and choose the destination folder where CrystalDiskMark will be installed. You can usually leave the default settings as they are, but feel free to customize them according to your preferences. - Install CrystalDiskMark
After selecting your preferred installation options, click on the “Install” or “Next” button to begin the installation process. The installer will copy the necessary files and components to your computer. Depending on your system’s speed and specifications, the installation process should only take a few moments to complete. - Launch CrystalDiskMark
Once the installation is finished, you’ll typically see an option to launch CrystalDiskMark immediately. Check the box if you want to open the program right away, then click “Finish” or “Done” to exit the installer. Alternatively, you can launch CrystalDiskMark later by locating its shortcut in the Start menu or desktop. - Start Benchmarking
With CrystalDiskMark installed and launched, you’re now ready to start benchmarking your storage devices. Simply select the drive you want to test from the dropdown menu at the top of the CrystalDiskMark window, choose your preferred test settings, and click the “Start” button to begin the benchmarking process. CrystalDiskMark will measure the read and write speeds of your selected drive and display the results in an easy-to-read format.
By following these simple steps, you can quickly and easily install CrystalDiskMark on your Windows PC and start benchmarking your storage devices.
You may like: GPU-Z – Check Your Graphics Card Information
How to Use CrystalDiskMark
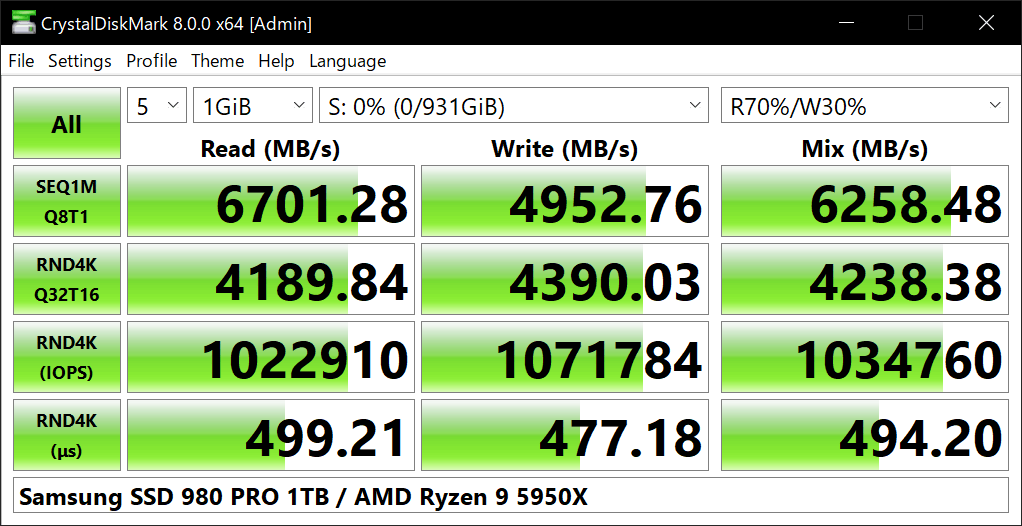

In this section, we’ll walk you through the process of using CrystalDiskMark to benchmark your storage devices effectively. Here are some easy steps to learn how to use Crystal Disk Mark software:
- Download and Install CrystalDiskMark
Before you can start using CrystalDiskMark, you’ll need to download and install the software on your Windows PC. You can download the latest version of CrystalDiskMark from the official website or other reputable sources. Once downloaded, run the installer and follow the on-screen instructions to install CrystalDiskMark on your system. - Launch CrystalDiskMark
After installing CrystalDiskMark, launch the application by double-clicking its shortcut icon on the desktop or locating it in the Start menu. CrystalDiskMark has a straightforward interface, making it easy to navigate and use for benchmarking purposes. - Select the Drive to Benchmark
Once CrystalDiskMark is open, you’ll see a dropdown menu at the top of the window labeled “Drive.” Click on this dropdown menu to select the storage device you want to benchmark. This could be your system drive (usually labeled as C:), an external hard drive, or an SSD connected to your computer. - Choose Test Settings
CrystalDiskMark offers several preset test profiles that you can choose from, including sequential and random read/write tests. You can also customize the test settings by adjusting parameters such as test size, number of test passes, and queue depth. For most users, the default test settings are sufficient, but feel free to experiment with different configurations to suit your specific needs. - Run the Benchmark
Once you’ve selected the drive and configured the test settings, click the “All” button to start the benchmarking process. CrystalDiskMark will perform a series of read and write tests on the selected drive, measuring its performance in terms of data transfer speeds. The benchmarking process may take several minutes to complete, depending on the size of the test and the speed of your storage device. - Analyze the Results
After the benchmarking process is complete, CrystalDiskMark will display the results in a tabular format within the application window. The results include metrics such as sequential read/write speeds, random read/write speeds, and input/output operations per second (IOPS). Analyze these results to assess the performance of your storage device and compare it to other devices or industry standards. - Save or Export Results (Optional)
If desired, you can save or export the benchmark results for future reference or analysis. CrystalDiskMark allows you to save the results as a text file or export them in CSV format, making it easy to share or compare benchmark data with others.
By following the steps outlined in this guide, you can effectively use CrystalDiskMark to benchmark your storage devices.
Final Thoughts
CrystalDiskMark is a versatile and powerful disk benchmarking utility that provides valuable insights into the performance of storage devices. Whether you’re evaluating the speed of a new SSD, troubleshooting performance issues, or comparing different storage solutions, CrystalDiskMark offers the tools and functionality you need to make informed decisions.
Download Section
If you are unable to download from the above pages, you can download using the mirror link to download Standard Edition or to download Shizuku Edition.
If you are looking for something more similer to benchmark your strorage drives, we recommend checking out CrystalDiskInfo tool:
FAQ’s
Here are some frequently asked questions:
What is CrystalDiskMark software, and why is it used?
Crystal Disk Mark is a disk benchmarking tool used to assess the performance of storage drives such as SSDs and hard drives. It measures various aspects like sequential and random read/write speeds, providing insights into storage performance.
Where can I download CrystalDiskMark software?
Crystal Disk Mark software can be downloaded from various sources, including the official website crystalmark.info or gamedecide.com/crystaldiskmark
What are the differences between the Standard Edition and Shizuku Edition of CrystalDiskMark?
Both editions of Crystal Disk Mark function similarly, with the primary difference being the theme or appearance. The Shizuku Edition features a different visual theme but offers the same functionality as the Standard Edition.
How do I install CrystalDiskMark on my Windows PC?
After downloading the software, double-click the installer file and follow the on-screen instructions to install Crystal Disk Mark on your Windows PC. It’s a straightforward installation process.
How do I use CrystalDiskMark to benchmark my SSD or hard drive?
Launch Crystal Disk Mark after installation, select the drive you want to benchmark from the drop-down menu, choose the test type (e.g., sequential or random), and click “All” to run the benchmark. Results will be displayed once the test is complete.
What do the benchmark results in CrystalDiskMark mean?
The benchmark results show various metrics such as sequential read/write speeds (in MB/s), random read/write speeds (in IOPS), and access times (in milliseconds). Higher values indicate better performance.
Can CrystalDiskMark be used to check the health of my SSD or hard drive?
Crystal Disk Mark primarily focuses on benchmarking performance rather than assessing drive health. For drive health monitoring, consider using software like CrystalDiskInfo or manufacturer-specific tools.
Can I compare my benchmark results with standard benchmarks for SSDs or hard drives?
Yes, you can compare your benchmark results with standard benchmarks available online for similar SSDs or hard drives. This can give you an idea of how your drive’s performance compares to others in its class.
How often should I benchmark my SSD or hard drive using Crystal Disk Mark?
It’s recommended to benchmark your SSD or hard drive less often to monitor performance changes. For example, you might benchmark after installing new hardware or software updates after every year.
Is Crystal Disk Mark compatible with Windows 11?
Yes, Crystal Disk Mark is compatible with Windows 11, as well as Windows 7, 8, and 8.1. Ensure you download the appropriate version compatible with your operating system.


